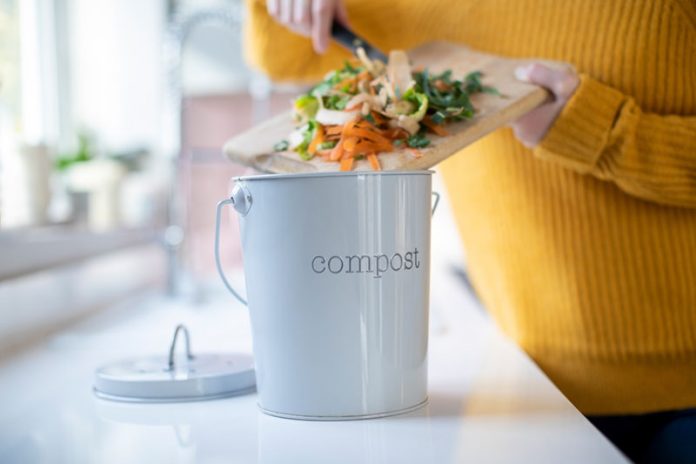
Just as many different types of food scraps can be composted, there are also several different types of compost bins. Between bins for composting in apartments to fancy outdoor compost tumblers, there are a range of composting options available for any space and any level of food waste. As an often-overlooked option, this article will take a look at DIY compost bins—and how to make them!
Making a DIY Compost Bin: 4 Options
If you’ve spent some time looking for a way to transform your kitchen scraps into “garden gold,” you might be shocked by some of the price tags requiring the equivalent of several bricks of gold. Many compost bins on the market are pricey, and a DIY compost bin can help you save some $$ while saving the planet.
In addition to cutting down the cost of properly, a DIY compost bin can also make use of discarded items, some of which you might have laying around the house!
1. DIY Basic Fenced Compost Pile
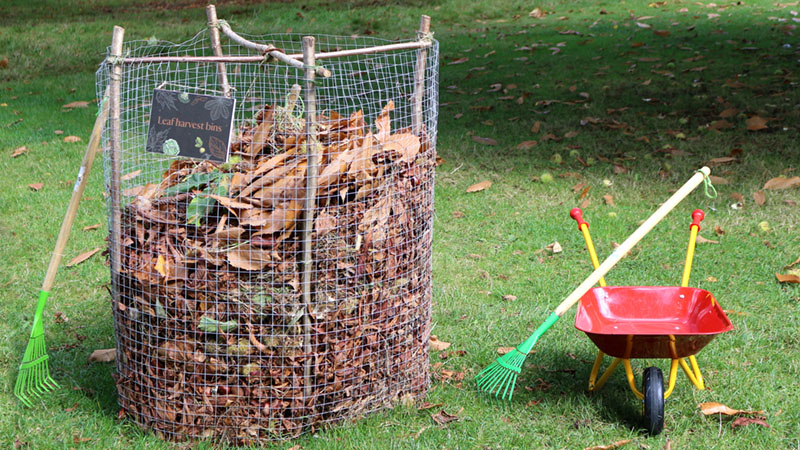

If you’ve got a big backyard, easy-going neighbors, and no significant issues with rodents, this may be the compost option for you. If you’ve got a home garden or a large family, this is definitely the compost option for you as it can handle significantly more food scraps than many other options.
Essentially what you’ll want to do is find a large space that is hidden from view. Then you can get started on an easy-to-build compost pile!
- Measure out a three or four-square foot area and add four stakes in every corner.
- Weed cloth can be cut to the right size, then a piece of rebar can be hammered through and into where the stake is marking the spot.
- Next, add chicken wire to each side and secure to the rebar using zip ties. Be sure to bend any sharp edges so that they’re flush with the rebar and don’t present any potential safety issues.
- Add your organic waste!
- Regularly turn the compost heap using a garden fork or shovel. Add water during hot and dry conditions. Alternatively, dry leaves or shredded newspaper can be added if the heap appears to wet.
Because aerobic organisms like bacteria and fungi are more active when it’s warmer, it’s best if you can have this ready in early spring. While nothing will break down in extremely cold temperatures, you can continue adding fruit and vegetable scraps in the winter. Once it gets warmer the composting process will start again.
2. DIY Plastic Storage Container Compost Bin
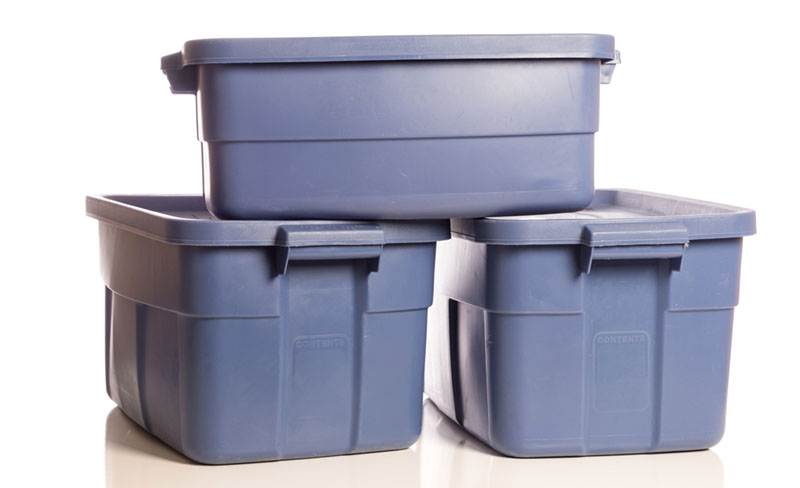

Check your garage, behind the junk in your basement, or ask a friend—it’s very likely that you or someone close to you has a plastic bin that’s not being used. This is all you need to make a quick and easy compost bin—just make sure that the container has a lid that fits and can accommodate at least 18 gallons.
The process to make this DIY compost bin takes no time at all.
- Once you’ve got your bin, you’ll want to drill some holes. You can either drill them into the sides of the container, or the top. Just be sure that you have a few inches in between each hole.
- If you make the holes too large, you might want to add mesh so that nothing leaks out—and so that rodents don’t get in.
Alternatively, if you have a second bin (RECOMMENDED), your compost bin can be stacked inside and slightly larger holes can be used.
As the compost process is transforming the food scraps, a nutrient-rich liquid (also called “compost tea”) will be produced. Any liquid that escapes from the compost bin can fall into the second. Every once in a while, the captured liquid can be added directly to your garden as fertilizer.
The compost bin works just as a normal compost pile will! You should have finished compost in a few months. To speed up the process, consider breaking up any food scraps by chopping them, or adding them to a blender. It’s also helpful to shake the bin every day or so to aerate it.
In the winter, it might be better to bring the compost bin inside so that the indoor temperatures can keep the process happening.
3. DIY Countertop Compost Bin
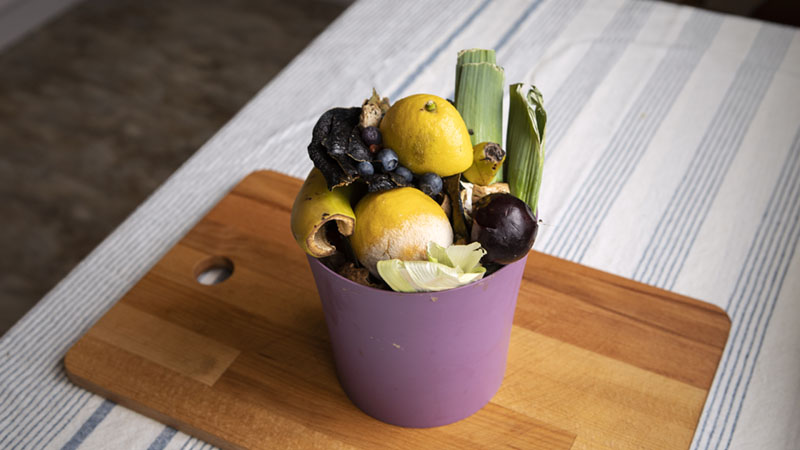

For food waste collection in the kitchen, nearly anything with a lid can be used. Simply collect your scraps and add them to an outdoor compost system when it’s full.
If you want to upgrade, you’ve got a few options—a fancier stainless steel container, a nicer plastic container, or an upcycled container. When it comes to the latter, this can be nearly anything. For something a little larger though, an old coffee can, ice cream container, or large yogurt container are best. Just be sure it has a fitting lid!
Another material you want to have ready is a charcoal filter. These can typically be found at local pet stores as they’re commonly used to control the odor in a kitty litter box.
Once you’ve gathered your materials, you can make the DIY countertop compost bin.
- Drill holes in the top of the lid. Again, leave some space between the holes. This time, you might want the holes to be a little smaller. DIY Natural recommends using a ¼” drill bit.
- The charcoal filter can then be cut to be an appropriate size, before being glued to the inside of the lid. Either a hot glue gun or super glue can be used.
And that’s it!
4. DIY Vermicompost Bin
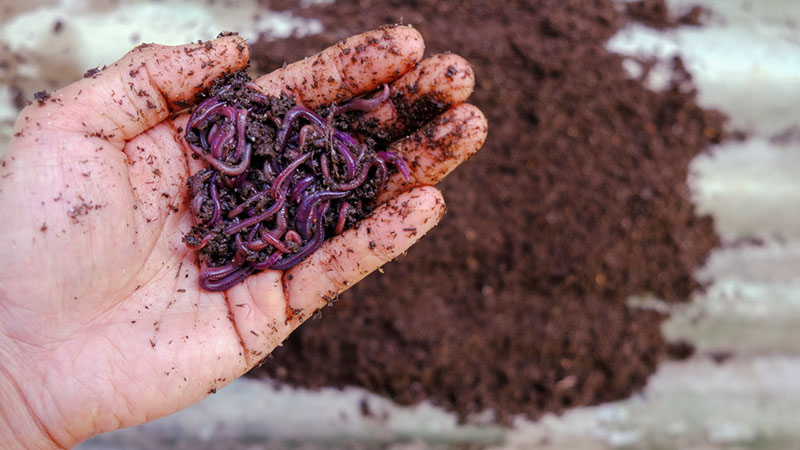

Similar to the plastic container compost bin, smaller, 10 gallon storage bins can also be used to make a vermicompost bin, commonly referred to as a worm farm. When you’re sourcing these ones, look for a dark color and don’t use transparent bins.
Again thanks to the advice of DIY Natural, here’s the process for making an affordable, easy vermicompost bin:
- Use a ¼” drill bit to add several holes on the bottom of both bins. At least 20 holes should be drilled.
- Then smaller holes (1/16”) can be drilled along the top third of both bins.
- The same size drill bit can be used to add at least 30 holes to the lid of ONE bin.
- Bedding (shredded newspaper) should then be added to one bin. Add a light layer of dirt on top of that and spray water until damp.
- Add a pound of worms (red wrigglers are a good choice) and stir everything. A layer of damp cardboard should be added to the top before the lid (with holes) is secured.
- The other lid (without holes) can be placed upside-down with four equal-sized bricks/blocks to add some height.
- Stack the two bins and carefully place them on top of the bricks/blocks.
Similar to compost, the worms will produce a “worm tea” that can be collected in the bottom, upside-down lid. Simply dilute and add to plants as a nutrient-rich natural fertilizer.
When Will the Compost Be Ready?
Using some of these methods, like the chicken-fence heap, your compost should be ready in as little as one to six months. You’ll know once you have what smells and looks like a dark brown, rich soil. Then it can be added to your garden beds, on your lawn, in containers, or even mixed into potting soil or a seed-starting mix.
Need some more composting tips? Be sure to check out our Composting FAQs for Beginners Guide!

